Amazon's Mechanical Turk and CloudResearch are independent companies. For the studies you set-up on CloudResearch to be launched on MTurk, you need to follow a few steps that, while rather technical, can be easily completed in about ten minutes. In the steps below, we describe how to set up and link your accounts so you can manage MTurk studies from the CloudResearch dashboard.
*Note: Amazon sometimes changes the process for linking accounts. If you find that these instructions do not map on to what you’re seeing, please let us know at support@cloudresearch.com.
- Create a CloudResearch account.
If you haven’t already, please create a CloudResearch account.
- Create an Amazon Web Services (AWS) account.
Go to the Amazon Mechanical Turk Developer page. From this page you can create an
Amazon Web Services (AWS) and Mechanical Turk requester account at the same time.
Navigate to the “Sign in” section shown below and under “New to MTurk?” select the
option to create your accounts together.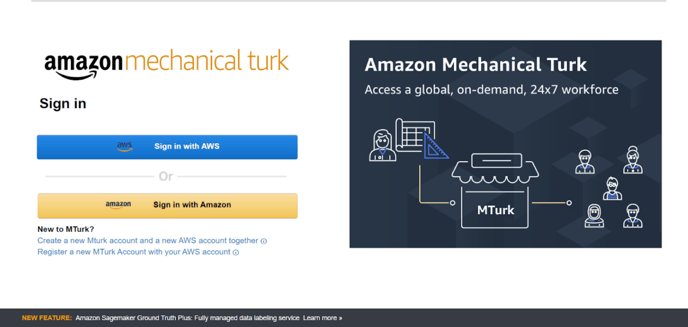
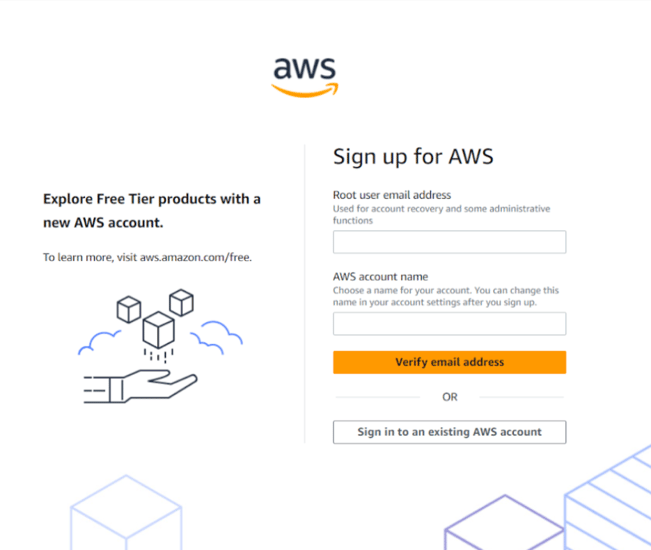
On the following page, enter the email address you want to use and a name for your
AWS account (can be changed later). After you verify your email address, you’ll be
asked to create a password.
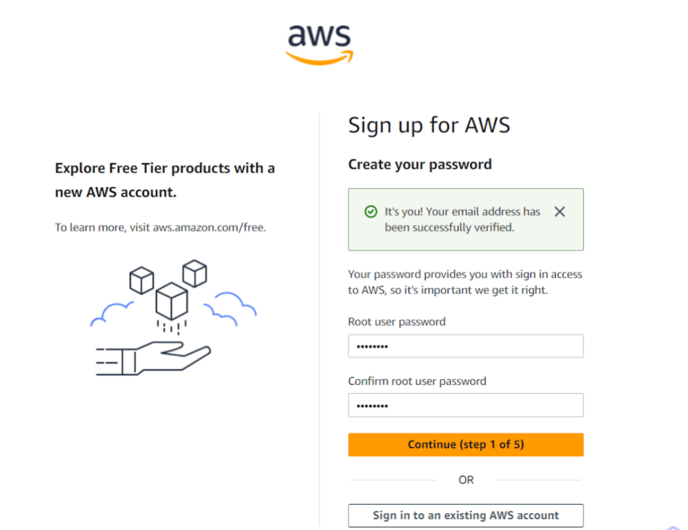
Once you’ve set a password, click “Continue.”
Next, you’ll sign up for AWS by entering some personal information. After doing so, click
“Continue.”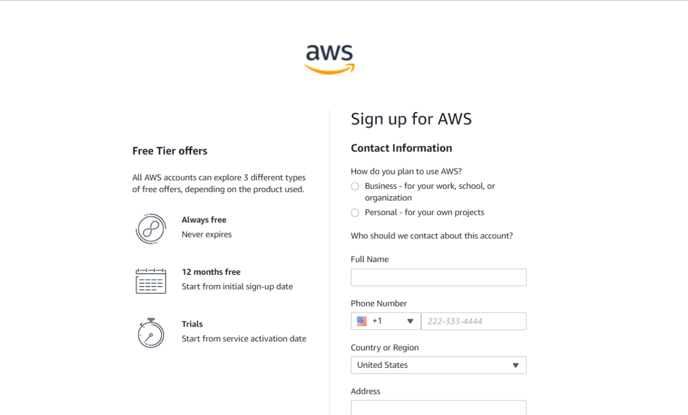
You will now be required to enter credit card information. For standard use of Mechanical Turk,
you should not incur any AWS service charges on this card..png?width=688&height=387&name=Untitled%20design%20(62).png)
After entering your credit card, you’ll be asked to verify your AWS identity. Enter your phone
number and the letters and numbers for the security check. Once you click “Send SMS” you will
receive a text message with a verification code. Enter the code into the box and select
“Continue.”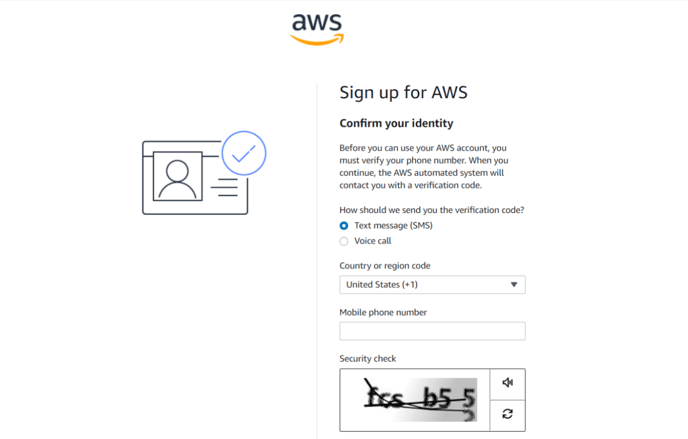
The final step in AWS sign up is to select a support plan. You can choose “Basic support - free” and then click “Complete sign up.” You should receive a completion message.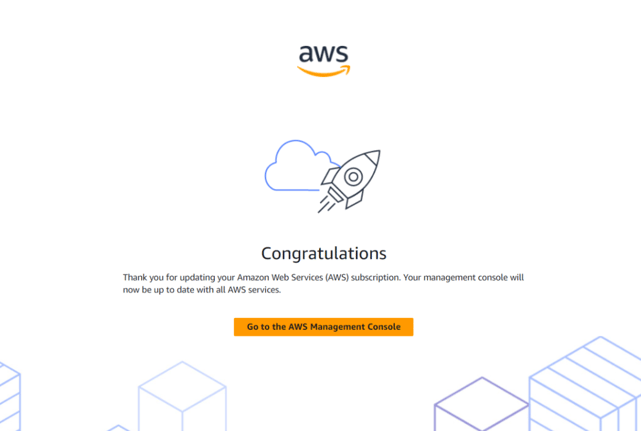
- Create a Mechanical Turk Requester account.
To create your Mechanical Turk Requester Account, select “Go to the AWS Management
Console.” When you do, you’ll be asked to login with the AWS credentials you just created.
After logging in, you’ll see a prompt to create your MTurk Requester account. Select “Create
new account.”.png?width=688&height=311&name=Untitled%20design%20(61).png)
Next, enter a display name, which participants will see, and an email address. This email is
where all your MTurk correspondence will be sent, including messages from participants. .png?width=688&height=351&name=Untitled%20design%20(60).png)
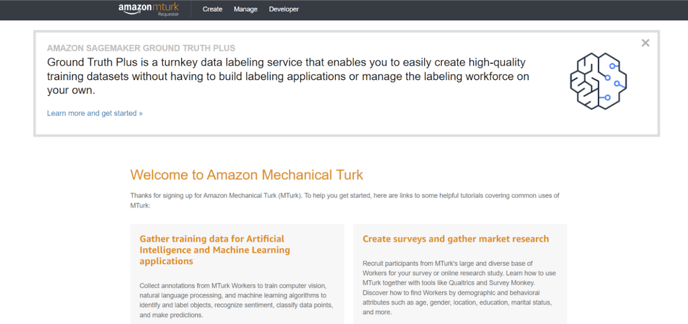
After creating your account, you will be brought to the Mechanical Turk requester page.
- Create an Identity and Access Management (IAM) user and give this user permission to access the MTurk API from your account.
The next step is to create an IAM user and give your AWS account permission to interact with
your MTurk account. These are the back-end steps that enable communication from
CloudResearch to your MTurk requester account.
Select “Developer” from the tabs at the top.
On the Developer page, scroll down to “Step 2.” Choose “Get your AWS Access Keys.” Clicking this link will open a new tab and bring you to the “IAM Management Console.”.png?width=688&height=387&name=Untitled%20design%20(59).png)
From the “IAM Management Console” select “Users” along the left hand column..png?width=688&height=305&name=Untitled%20design%20(58).png)
On the following page, select “Add users.”.png?width=688&height=302&name=Untitled%20design%20(57).png)
Then provide a username. We recommend using the same email address you used to create
your Mechanical Turk account. After you enter a user name, click “Next.”
.png?width=688&height=309&name=Untitled%20design%20(56).png) On the next page, choose “Attach policies directly.”
On the next page, choose “Attach policies directly.”
.png?width=688&height=310&name=Untitled%20design%20(52).png)
In the search box, type “MechanicalTurk” and hit enter. In the list of permissions this search
yields, select the box next to “AmazonMechanicalTurkFullAccess.” Then click “Next.”
.png?width=688&height=302&name=Untitled%20design%20(53).png)
.png?width=688&height=313&name=Untitled%20design%20(54).png)
To finish, choose “Create user” on the following page.
.png?width=688&height=313&name=Untitled%20design%20(55).png)
With the IAM user created, the next step is to generate your AWS Access Keys. Later you will
enter these keys on CloudResearch to enable the communication between sites.
- Create AWS Access Keys
To generate the access keys, click on your username (highlighted in blue). 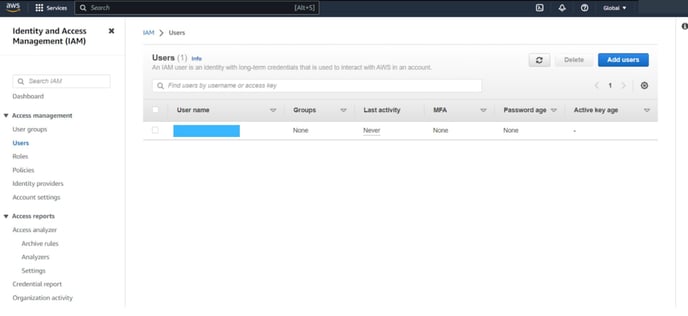
On the next page, choose the tab for “Security Credentials.”.png?width=688&height=303&name=Untitled%20design%20(67).png)
Scroll down to the section labeled “Access Keys” and select “Create Access Keys.”.png?width=688&height=319&name=Untitled%20design%20(66).png)
On the next page, scroll down and choose “Other.” Then click “Next.” .png?width=688&height=312&name=Untitled%20design%20(65).png)
Skip the optional step asking for a tag and select “Create access key.”.png?width=688&height=288&name=Untitled%20design%20(64).png)
IMPORTANT! You should see a message confirming the creation of your Access Key ID and
Secret access key credentials. This is the only time these credentials will be displayed to you.
Make sure you save them somewhere safe. You will need to copy and paste them into
CloudResearch.
*Note: If you lose these credentials, you can create a new IAM user and repeat the process of
generating access keys. .png?width=688&height=387&name=Untitled%20design%20(63).png)
- Enter your Access Keys in CloudResearch.
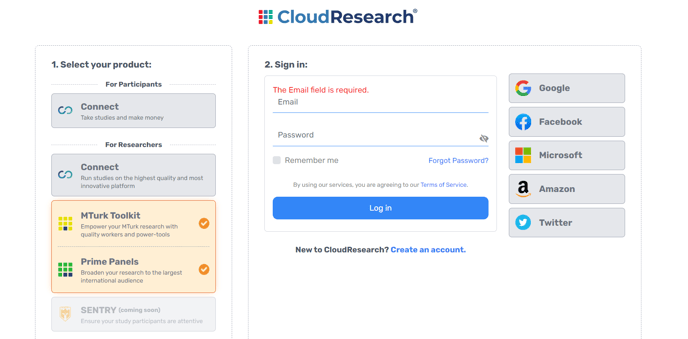
In the upper right corner, hover over the user icon and in the dropdown list select "Link Mechanical Turk/Mechanical Turk Account."
![HeaderNavigation_[mechanical turk account]_12.17.2020](https://go.cloudresearch.com/hs-fs/hubfs/HeaderNavigation_%5Bmechanical%20turk%20account%5D_12.17.2020.png?width=688&height=326&name=HeaderNavigation_%5Bmechanical%20turk%20account%5D_12.17.2020.png)
Enter your Access Key ID and Secret Access Key into the empty boxes. Then, click Submit. If
you were successful, you should see a success message.
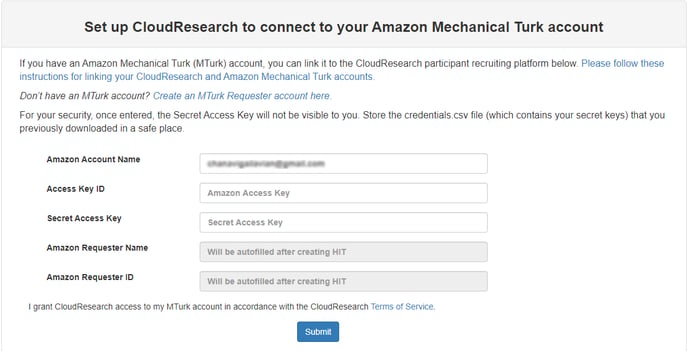
Your accounts are now linked and you should see the MTurk balance reflected at the top of your CloudResearch dashboard. You’re now ready to run studies!
.png?width=688&height=313&name=Untitled%20design%20(68).png)