Worker Groups allow you to paste several Worker ID’s into one manageable group that can be repeatedly used to Include or Exclude workers across multiple studies. To create a Worker Group, follow the steps below.
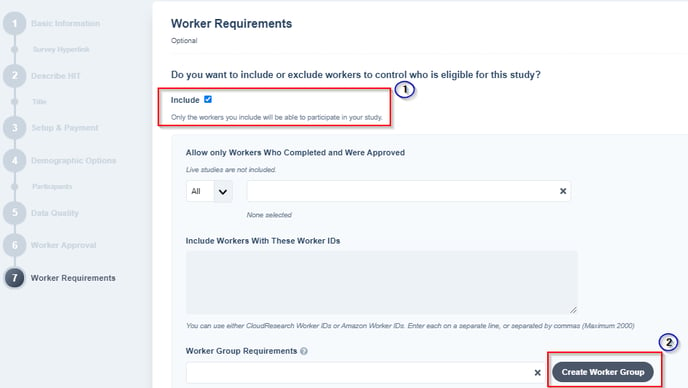
To create a Worker Group, navigate to the "Worker Requirements" page in the study setup.
- Select “Include” and then select "Create Worker Group"
- On the following page, name your Worker Group and indicate whether it is for Including or Excluding workers.
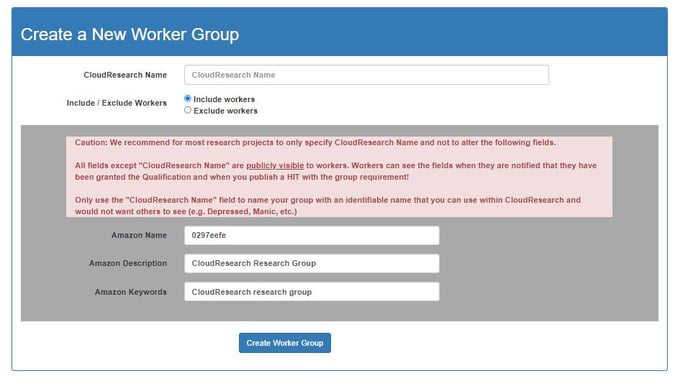
TIP! CloudResearch recommends giving your Worker Group a name within CloudResearch but leaving the Amazon Name, Amazon Description, and Amazon Keywords alone as these fields are displayed to Workers on MTurk. - After creating your group, you can add Workers to it by clicking "Add Workers" under the Actions column.

- Add Workers to your group by copying and pasting Worker ID's into the text box. When you are finished, click Save.
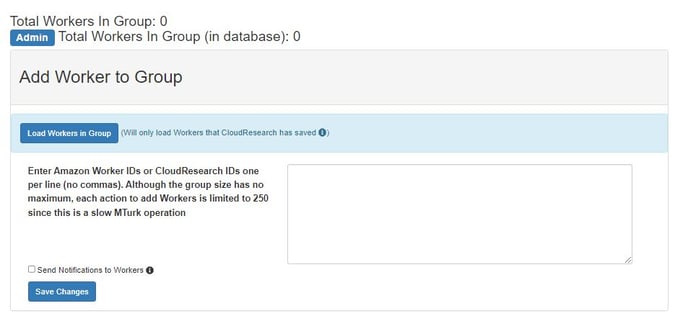
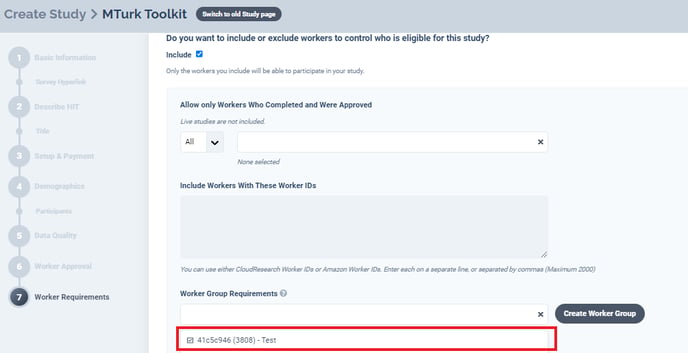
TIP! While there is no limit to the number of Workers you can place into a Worker Group, you can only add or remove 250 Workers at a time. This is because the process of granting qualifications to Workers you add to each group takes time. - Finally, to use your Worker Group in a study, select the group while setting up your study on the "Worker Requirements" page. Now, when you launch your study, the Workers in your group will either be Included or Excluded.